
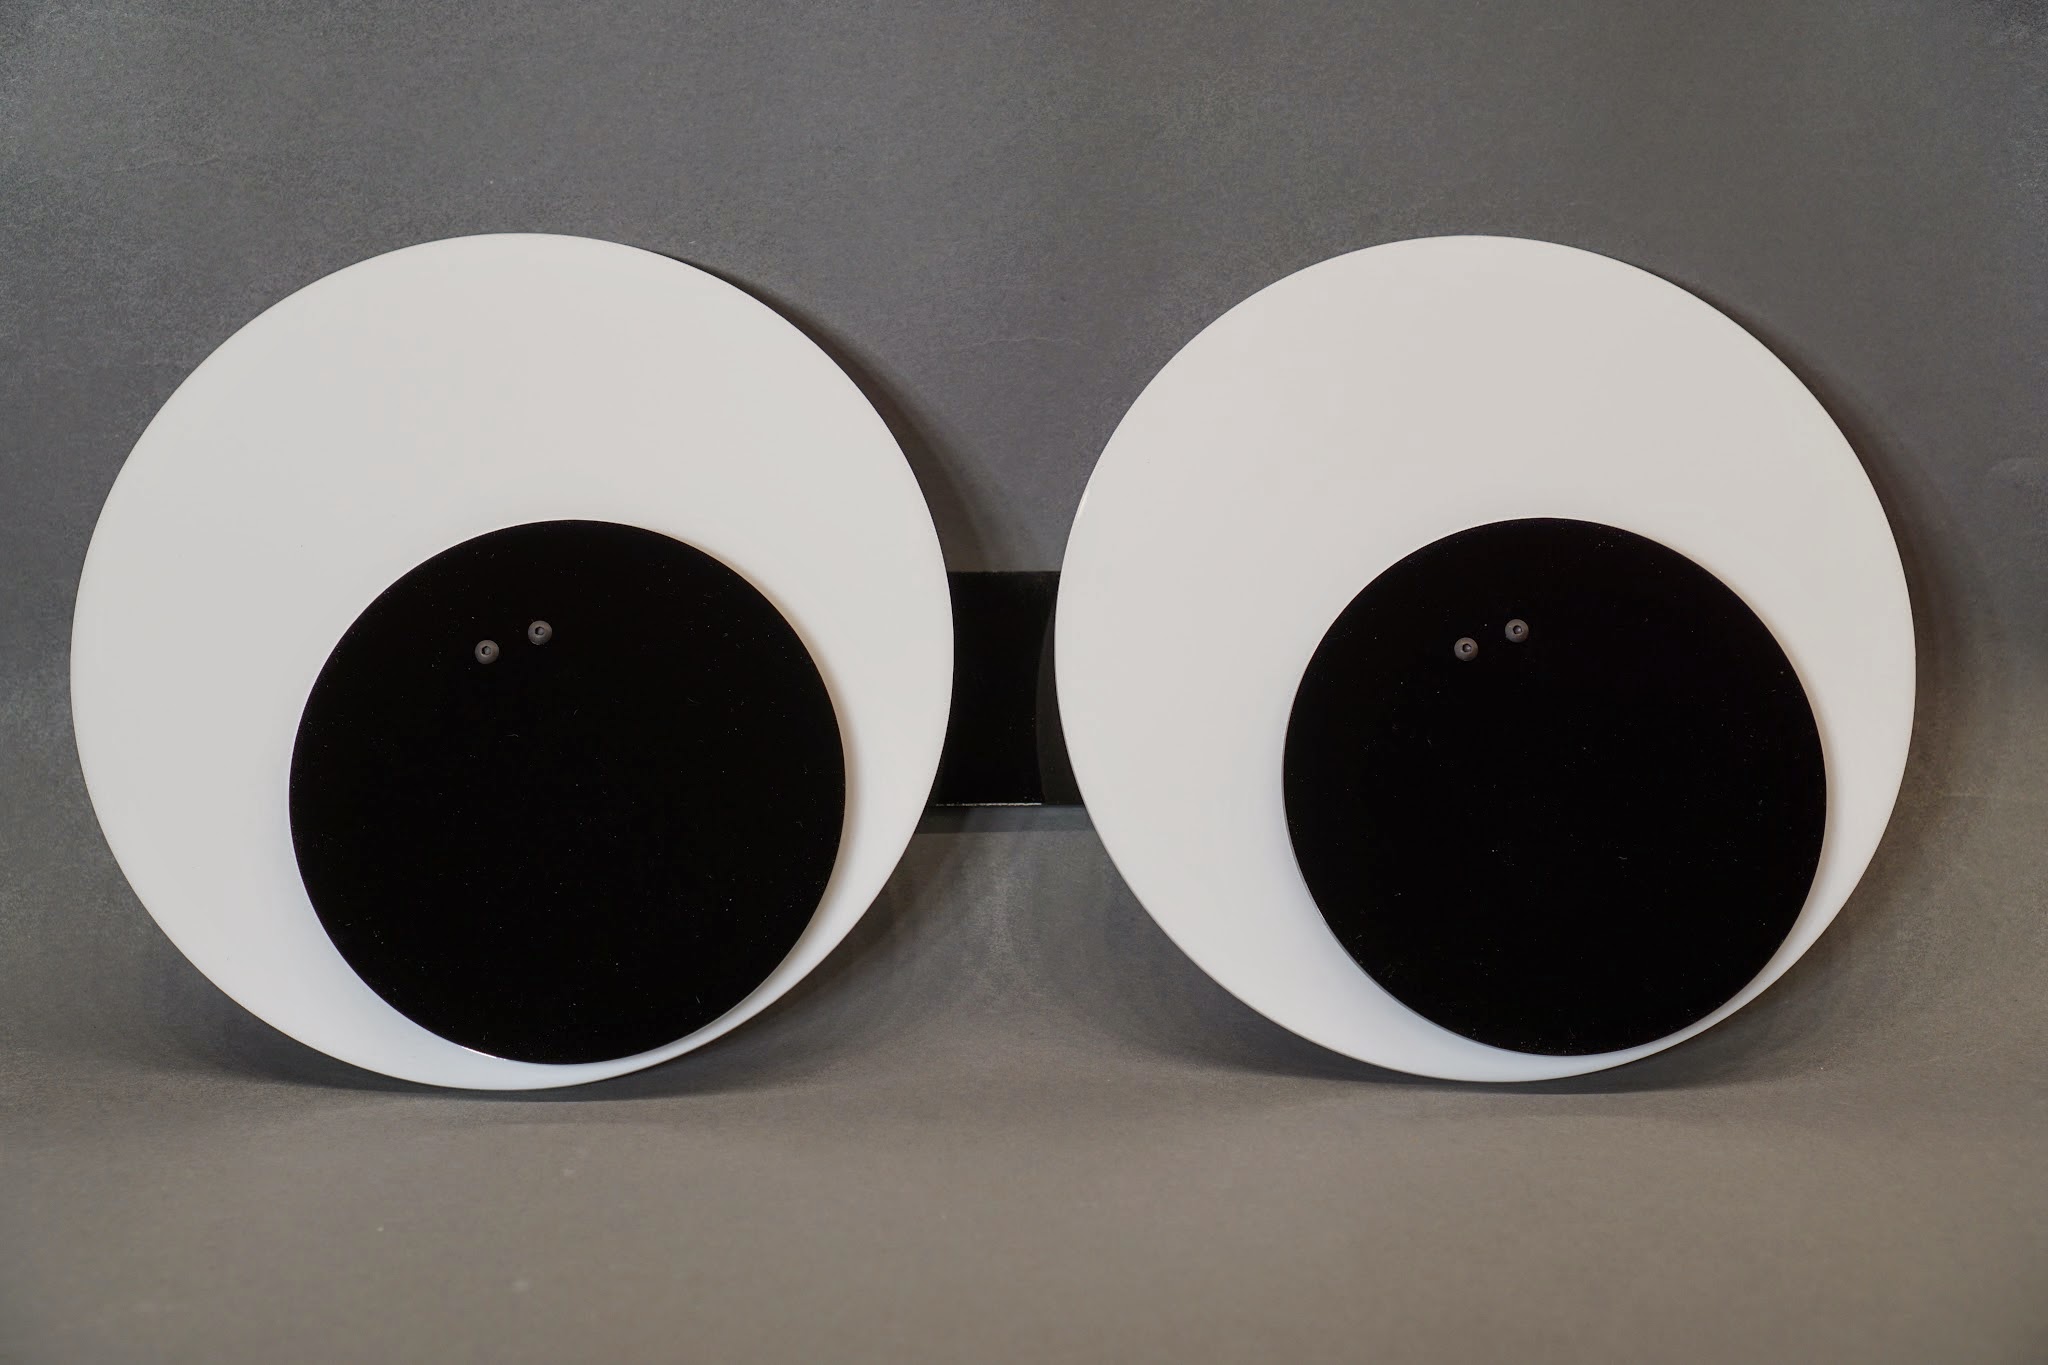
Completed robotic googly eyes. The scleras (whites of the eyes) are about 8″ (200mm) in diameter with 5″ (125mm) pupils.
Build your very own pair of giant robot googly eyes! These eyes are built from laser cut acrylic panels and motorized using a pair of NEMA-14 stepper motors. This post is the first in a series of three posts. In this post, we’ll build the googly eyes. In the 2nd post, we’ll look at hardware and software to animate the googly eyes. In the 3rd and final post, we’ll connect the eyes to OpenCV to make them track motion and faces in a room.
3D Model
Before buying any parts or doing any building, I designed the eye balls in Autodesk Fusion 360. A 3D model of the eyeballs can be viewed online using their free 3D viewer software here. The 3D model was useful for making sure all the parts would fit together, building the bill of materials for the project, and seeing where all the pieces go when it was time to assemble the googly eyes. A Fusion 360 archive file for the googly eyes can be downloaded here.
Required Parts
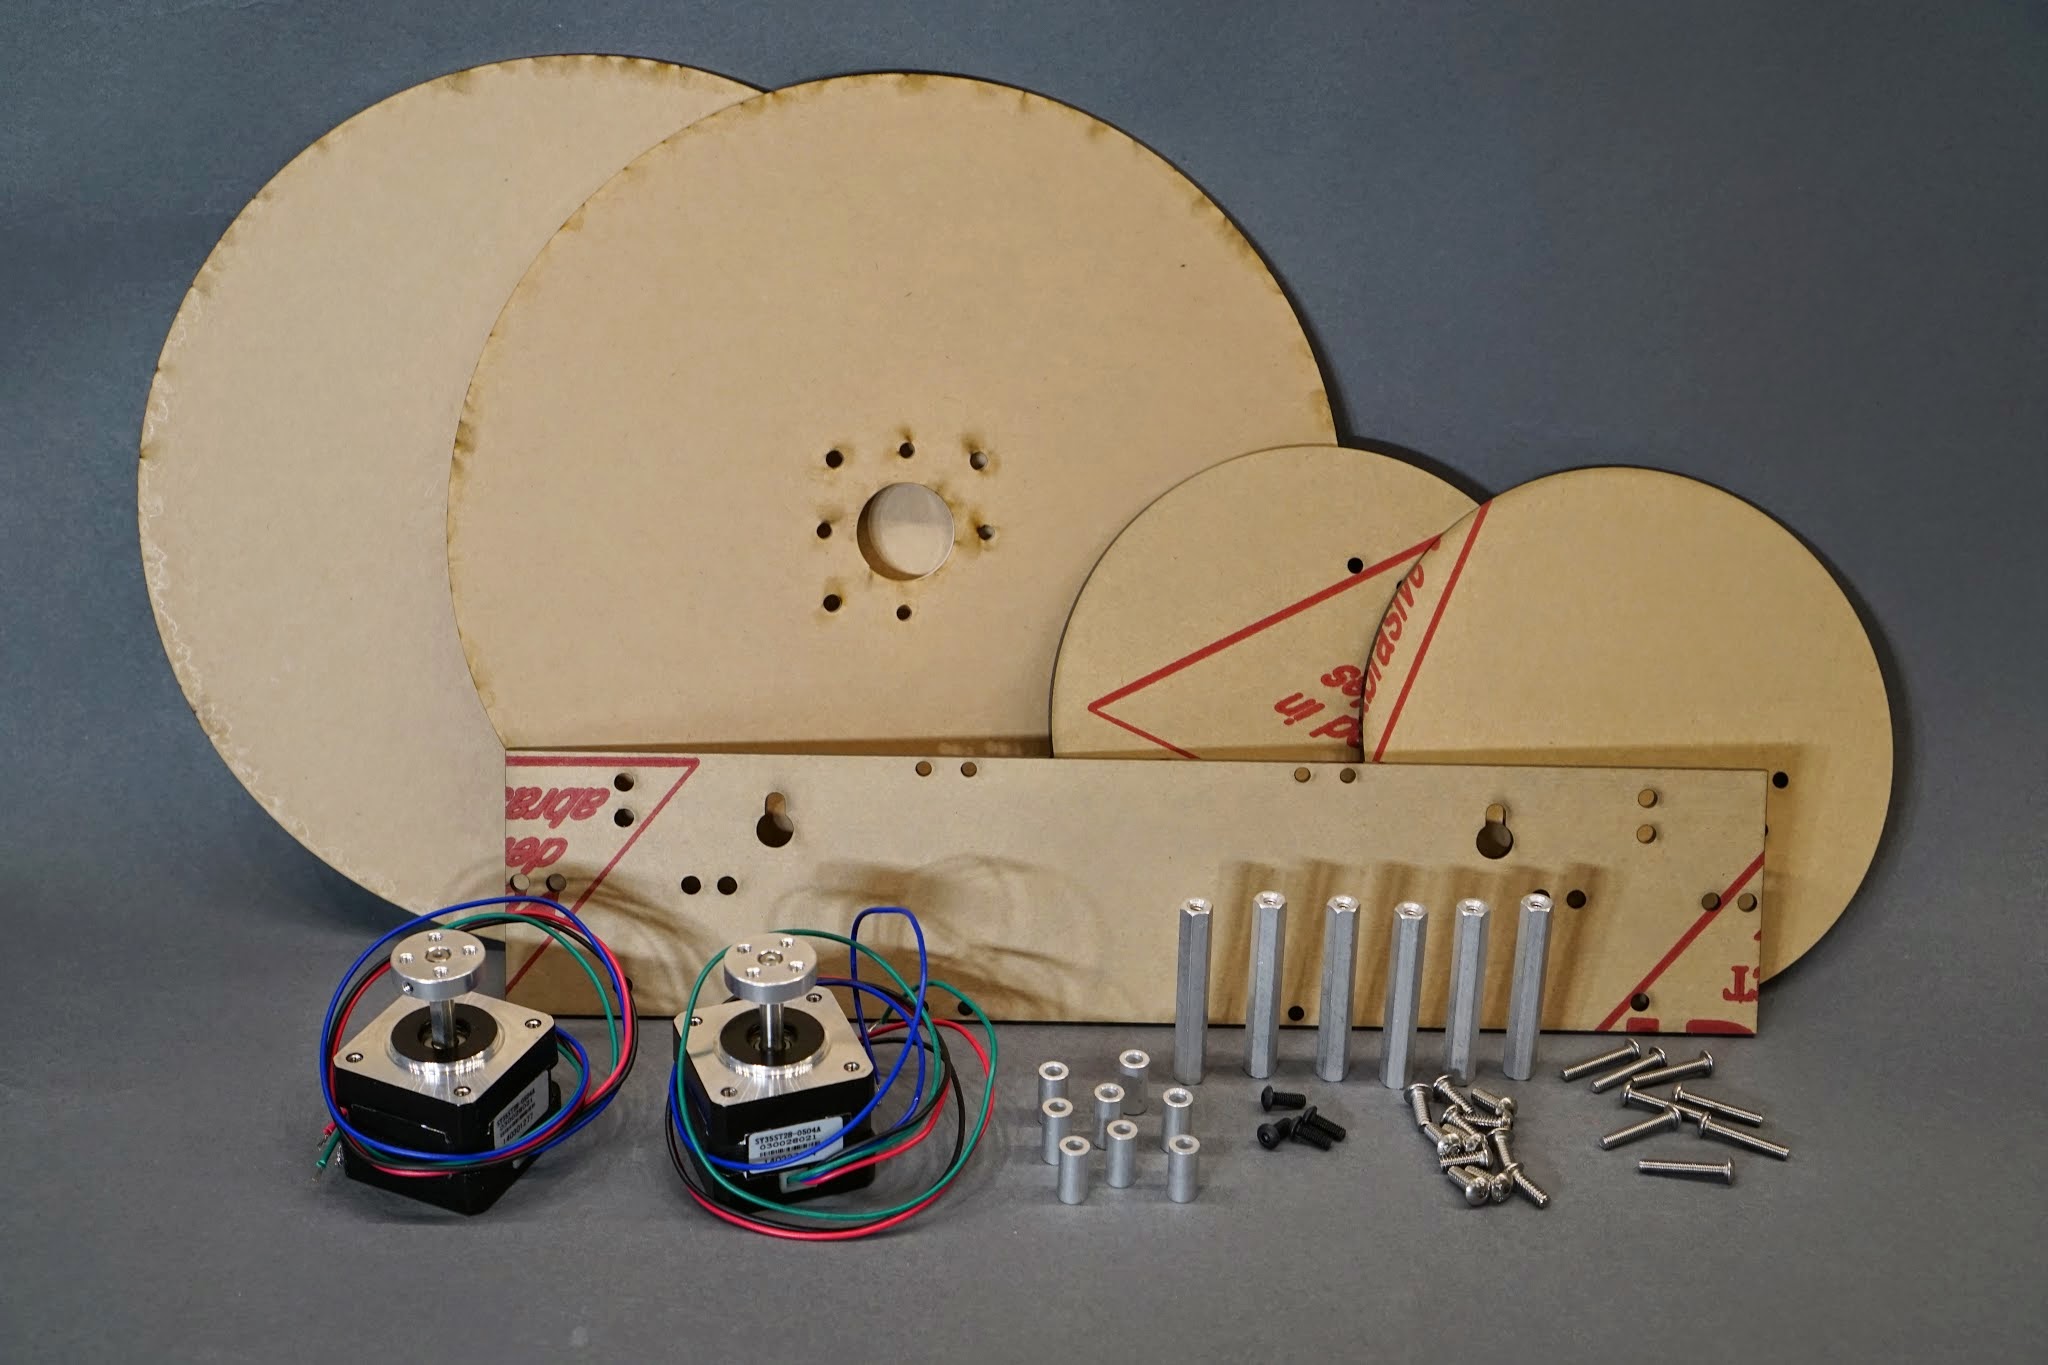
The parts required to build a set of robotic googly eyes.
The parts for this project are listed below. The total cost was about $85 excluding the shipping and handling charges.
- 2 Pololu NEMA-14 35x28mm Stepper Motors, Item #1208, $12.95 ea
- 1 Pololu 2-Pack of Aluminum Mounting Hubs for 5mm Shafts, M3 Holes, Item #1998, $7.49 for 2
- 8 Keystone #6 Aluminum Round Spacers, 1/2″, Item #3466, $0.37 ea
- 6 Keystone 6-32 Aluminum Hex Standoffs, 1-3/4″, Item #1819, $1.00 ea
- 4 M3-0.50 x 8mm Black Oxide Button Head Socket Cap Screws, McMaster-Carr #91239A113, $6.43 for 100
- 12 6-32 x 0.375″ Button Head Socket Cap Head Screws, McMaster-Carr #92949A146, $3.93 for 100
- 8 M3-0.50 x 18mm Button Head Socket Cap Screws, McMaster-Carr #92095A472, $6.00 for 100
- 2 Laser Cut Acrylic Eye Whites (scleras)*
- 2 Laser Cut Acrylic Eye Blacks (pupils)*
- 1 Laser Cut Acrylic Wall Mounting Plate*
*DXF files for use at Ponoko are provided in the next section. The materials and cutting cost was $38.17.
Cutting the Acrylic Pieces
I had Ponoko cut the acrylic pieces for the googly eyes. Total cost excluding shipping was $38.17 at the time I built my pair of googly eyes. You’ll need the two design files below.
p2_nema_14_white_sclera_0.118.dxf
p2_nema_14_black_pupils_0.118.dxf
(Right click and choose save as if you have trouble downloading the files.)
Both of these files are sized to be cut from Ponoko’s P2-sized material. The file p2_nema_14_white_sclera_0.118.dxf contains two scleras (the white parts of the eyes). I cut these out of glossy white 3mm acrylic. The file p2_nema_14_black_pupils_0.118.dxf contains four pupils and two wall mounting brackets. I cut these out of glossy black 3mm acrylic.
Assembly
Start assembly by attaching the mounting hubs to the shafts of the stepper motors. The top of the hub should sit flush with the end of the shaft. Tighten the set screws to their final torque. The photo in the parts list above shows the hubs mounted to the stepper motors.
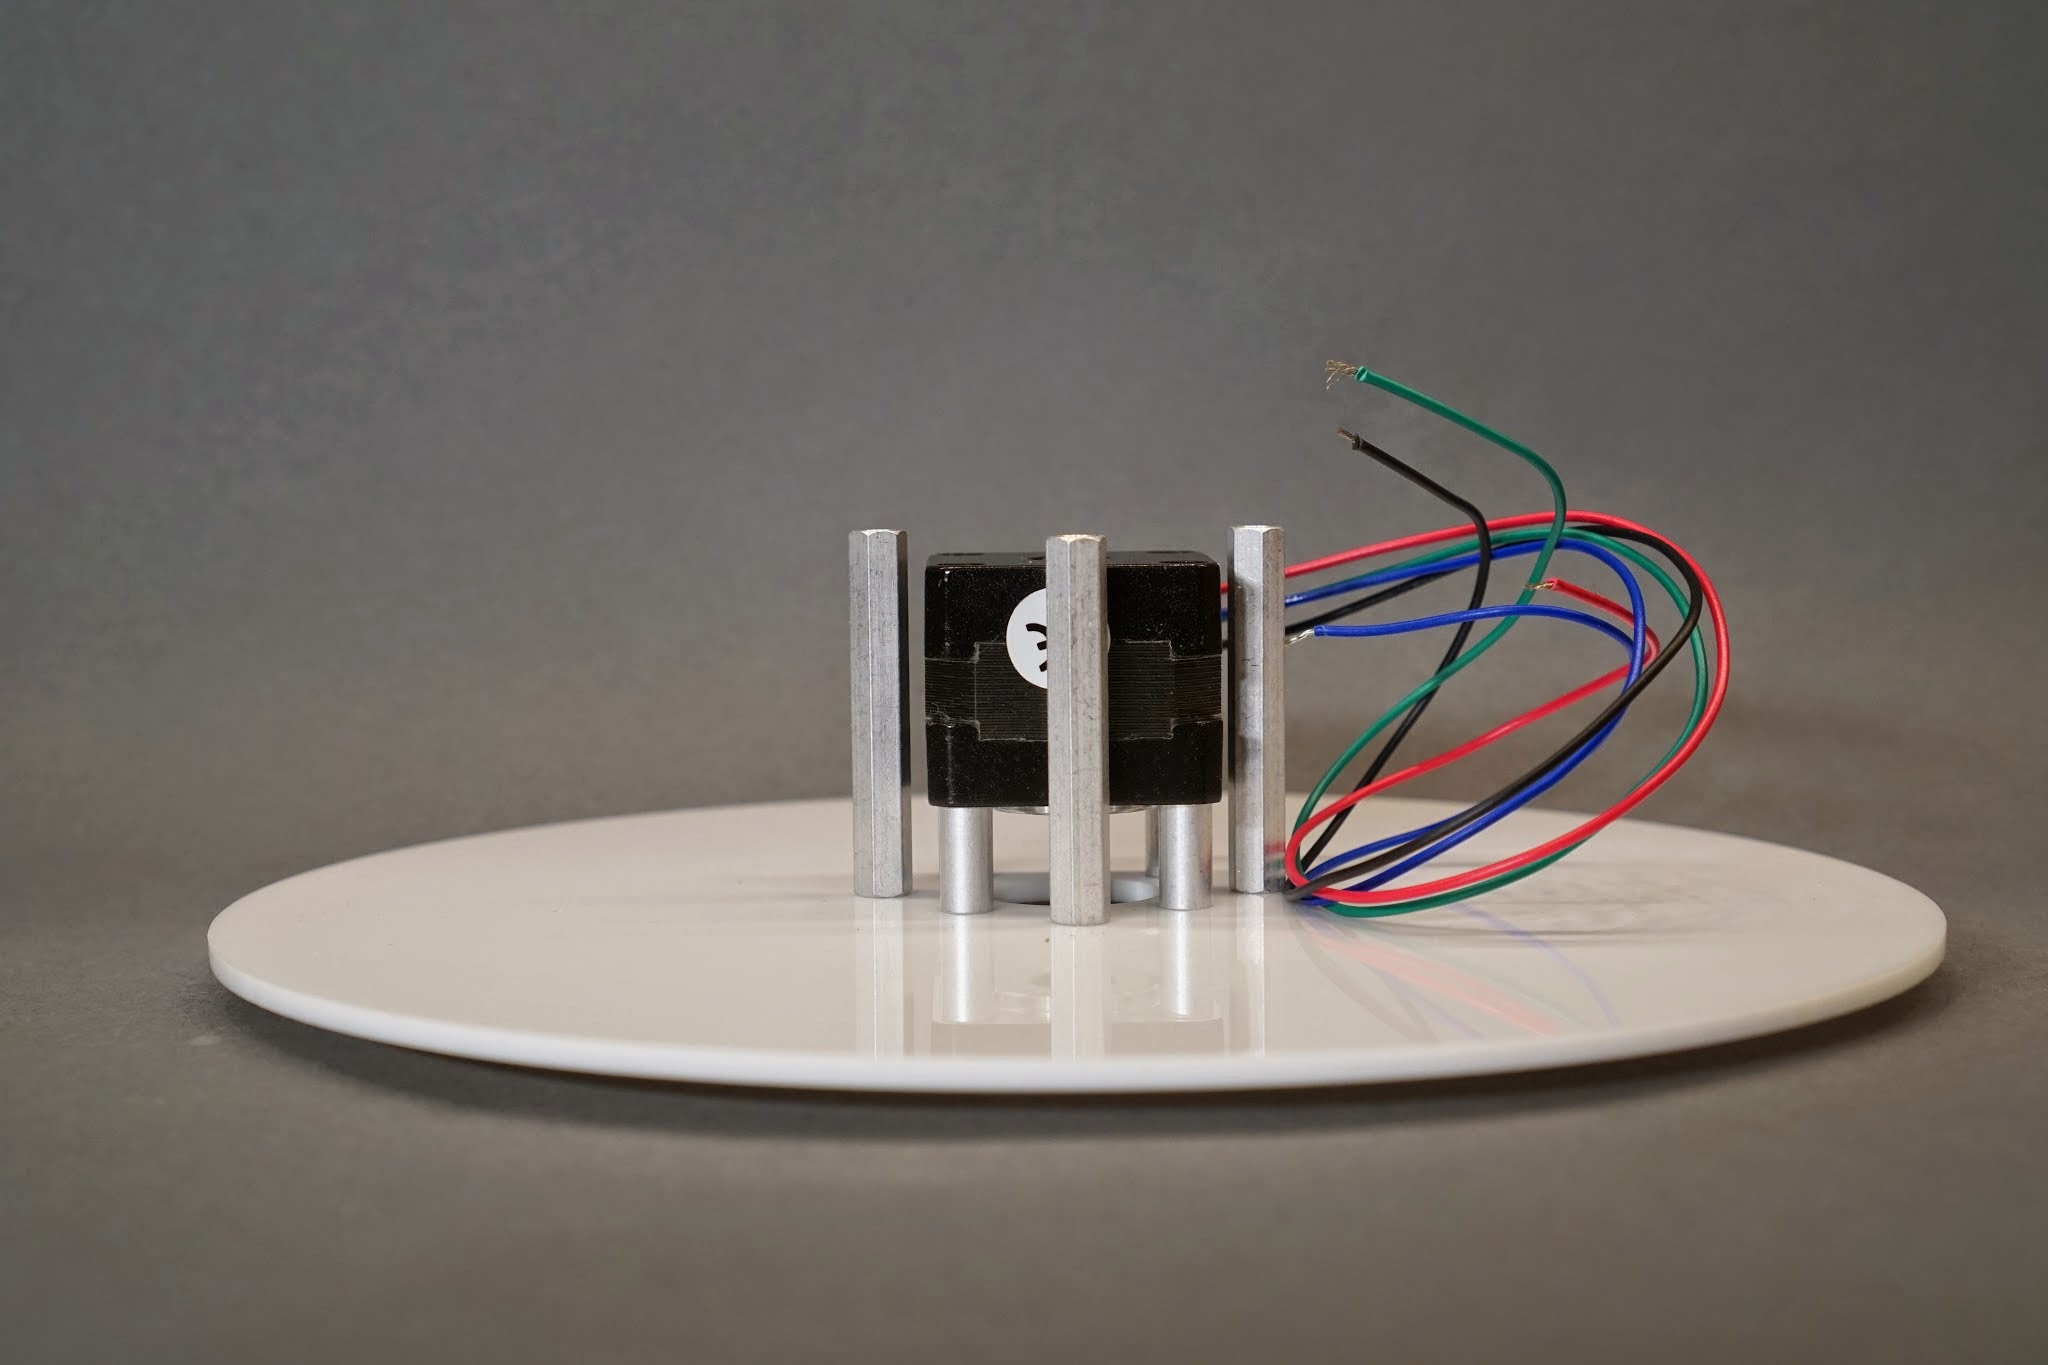
Postion of motor and spacers on the rear of the eye white. Notice the wires exit the stepper motor away from the 1.75″ spacers.
Next up is to connect the motors to the rear of the eye whites. Insert one of the M3-0.5 x 18mm screws through one of the four smaller holes on the front of the acrylic eye white. Place a spacer on the screw on the back side of the eye white then insert the screw into the corresponding mounting hole on one of the stepper motors. Point the side of the stepper motor with the wires down and away from the three larger 6-32 holes so that the wires will clear the spacers that are installed in the next step. Repeat this procedure for the remaining three M3 screws then repeat for the second eyeball.

The motor and spacers mounted to the rear of the eye whites.
Now connect the eye whites to the spacers. The spacers will connect the eyeballs to the wall mounting plate. Insert a 6-32 x 0.375″ screw through one of the three larger holes on the front side of the acrylic eye white. Tighten a spacer onto the screw on the rear of the eye white. Repeat this procedure for the two remaining 6-32 screw holes then repeat for the second eyeball.
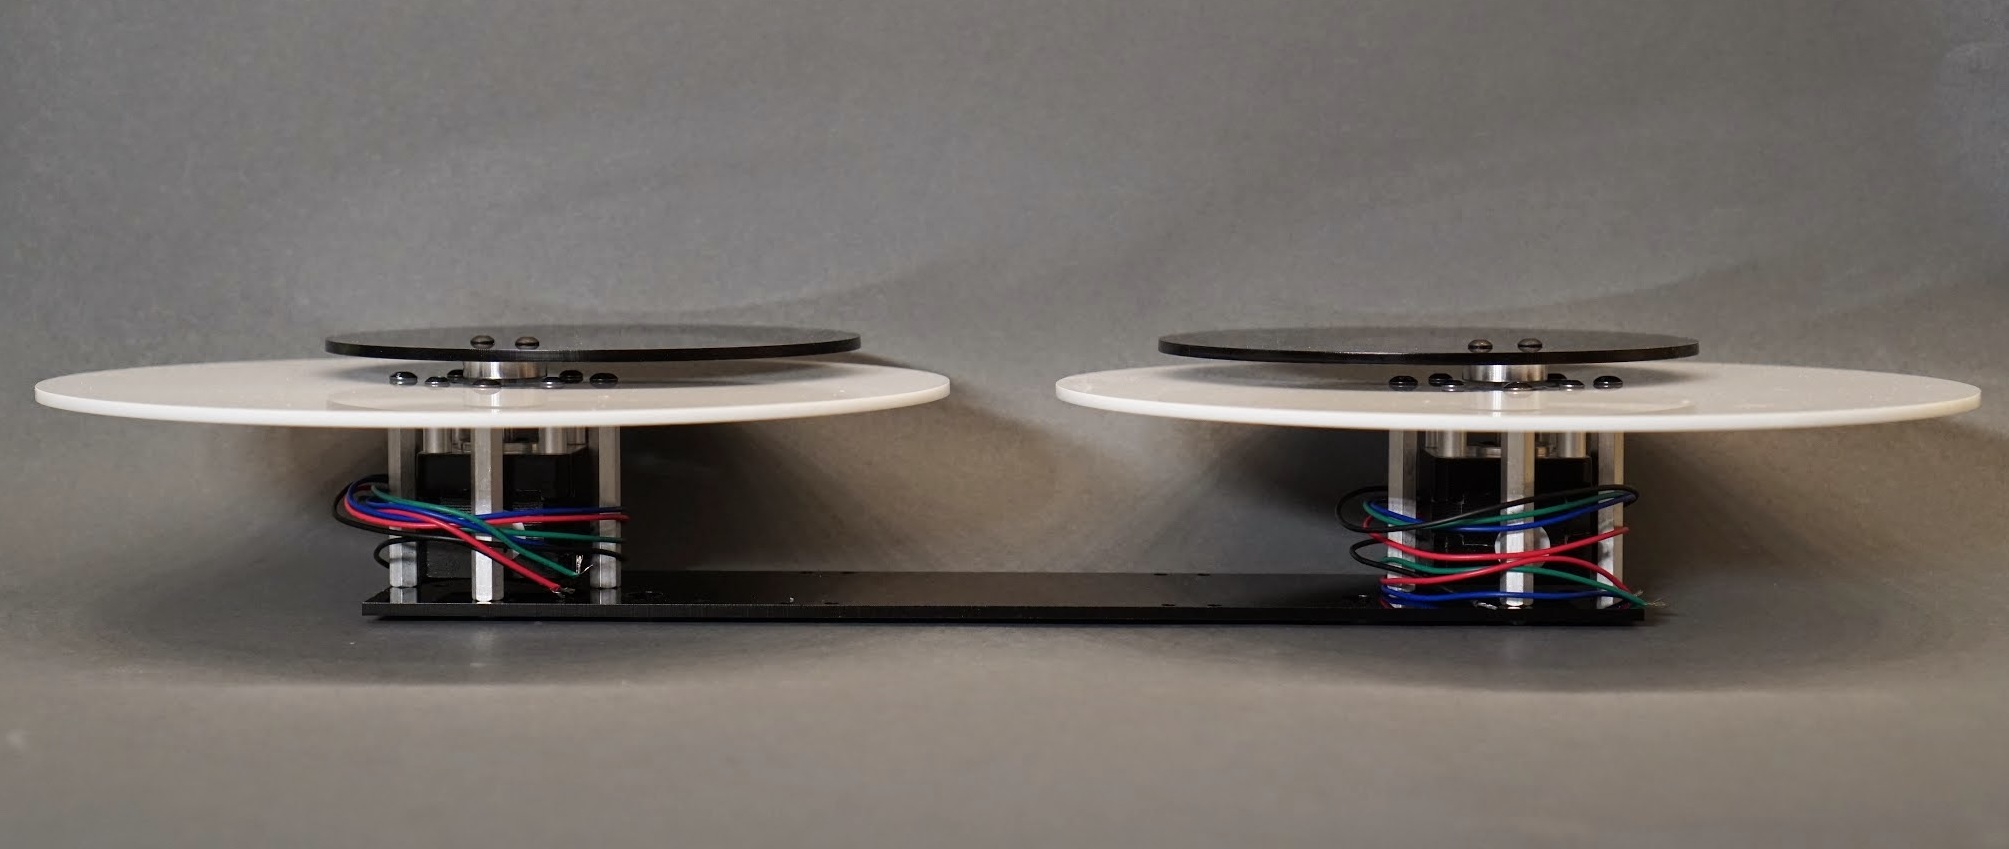
Side view of the googly eyes mounted on the wall hanging bracket.
Acrylic scratches easily so carefully flip the assembly over and place it on a soft surface such as a towel. Position the wall mounting bracket over one of the eyeballs. Insert a 6-32 x 0.375 screw through the wall mounting bracket and into the corresponding spacer on the eyeball. I mounted my wall mounting bracket to the eyeballs such that the motor wires exited the bottom when the wall mounting bracket is hung on the wall. Holes are provided for either orientation. Finish attaching the first eyeball to the wall mounting bracket then repeat for the second eyeball.
Flip the eyeballs over and use the M3-0.5 x 8mm black oxide screws to mount the pupils to the mounting hubs on the ends of the stepper motors.
Congratulations! You’ve built your very own pair of giant robotic googly eyes!
Completed robotic googly eyes
Next Steps
In the next post in this series, we’ll look at making the eyeballs move using an Arduino and some simple stepper motor drivers. In the final post, we’ll use OpenCV to make the googly eyes track faces in the room.